How to Seal Pipes, Vents & Wall Penetrations in House Wrap
Quick Answer
Every pipe, vent, electrical conduit, and exterior fixture that passes through a wall creates a potential water entry point.
A high-performance House Wrap alone cannot prevent leaks if penetrations are not detailed correctly. The best practice is to integrate flexible flashing tape or preformed flashing accessories with the WRB (Weather-Resistive Barrier) so that water is directed down and out of the wall assembly.
Why Wall Penetrations Matter
Most exterior walls contain multiple penetrations, including:
- Plumbing pipes
- Dryer vents
- Bathroom exhaust vents
- Electrical conduits
- HVAC lines
- Outdoor faucets
- Exterior lighting
- Utility boxes
Each opening interrupts the continuous weather barrier and must be sealed correctly to maintain long-term building performance.
The Three Principles of Proper Penetration Flashing
1. Maintain a Continuous WRB
The House Wrap should remain continuous around every penetration.
Instead of cutting large openings, create only the minimum opening required.
Smaller cuts are easier to seal and reduce leakage risks.
2. Follow the Shingle Principle
Always install flashing so that:
- Lower layers are installed first.
- Upper layers overlap lower layers.
- Water naturally drains downward.
Never create reverse laps that trap water behind the WRB.
3. Use Compatible Flashing Materials
House Wrap tape and flashing tape serve different purposes.
For penetrations, use:
- Flexible flashing tape
- Stretchable flashing membrane
- Preformed pipe flashing boots (where applicable)
- Compatible sealants specified by the manufacturer
Avoid using ordinary construction tape as a substitute.
Step 1 – Cut the House Wrap Correctly
Mark the penetration location carefully.
For round penetrations:
- Cut a small “X” or make two 45° relief cuts above the penetration.
- Keep the opening only slightly larger than the pipe or conduit.
This minimizes exposed edges and makes sealing more effective.
Step 2 – Seal Around the Pipe
Wrap flexible flashing tape tightly around the penetration.
Ensure the tape bonds to both:
- The House Wrap
- The pipe or penetration
Remove wrinkles and press firmly with a roller if recommended.
Step 3 – Install Flashing in the Correct Sequence
Proper sequence:
- Bottom flashing
- Side flashing
- Top flashing
- Fold the House Wrap flap back over the top
- Tape only the required cuts
This sequence ensures water is always directed outward rather than into the wall.
Step 4 – Seal Irregular Penetrations
For larger penetrations such as:
- Electrical boxes
- Dryer vents
- Utility cabinets
Use:
- Flexible flashing membranes
- Prefabricated flashing accessories
- Compatible sealants
The flashing should bridge from the penetration back onto the WRB to maintain continuity.
Common Types of Wall Penetrations
| Penetration | Recommended Solution |
|---|---|
| Plumbing Pipe | Flexible flashing tape or pipe boot |
| Dryer Vent | Self-adhered flashing membrane |
| Exhaust Vent | Integrated flashing tape |
| Electrical Conduit | Stretchable flashing tape |
| Exterior Faucet | Flexible WRB flashing detail |
| Electrical Box | Prefabricated flashing accessory |
Common Installation Mistakes
Avoid these errors:
- Cutting oversized holes.
- Installing flashing in reverse order.
- Using incompatible tapes.
- Leaving exposed gaps around penetrations.
- Stretching the House Wrap excessively.
- Ignoring UV exposure limits before cladding installation.
Many wall leaks originate from penetration details rather than from the field of the House Wrap itself.
Installation Checklist
Before installing exterior cladding, verify:
✔ All penetrations are sealed.
✔ Flashing follows the shingle principle.
✔ No reverse laps exist.
✔ Flashing materials are compatible with the WRB.
✔ House Wrap remains continuous.
✔ Tears or accidental damage have been repaired.
Why OPERFECT House Wrap Systems?
OPERFECT designs Building Envelope systems that simplify installation while improving long-term weather protection.
Our solutions include:
- PP Woven House Wrap
- Breathable Membrane House Wrap
- Flash-Spun HDPE House Wrap
- House Wrap Tape
- Synthetic Roofing Underlayment
- Ice & Water Shield
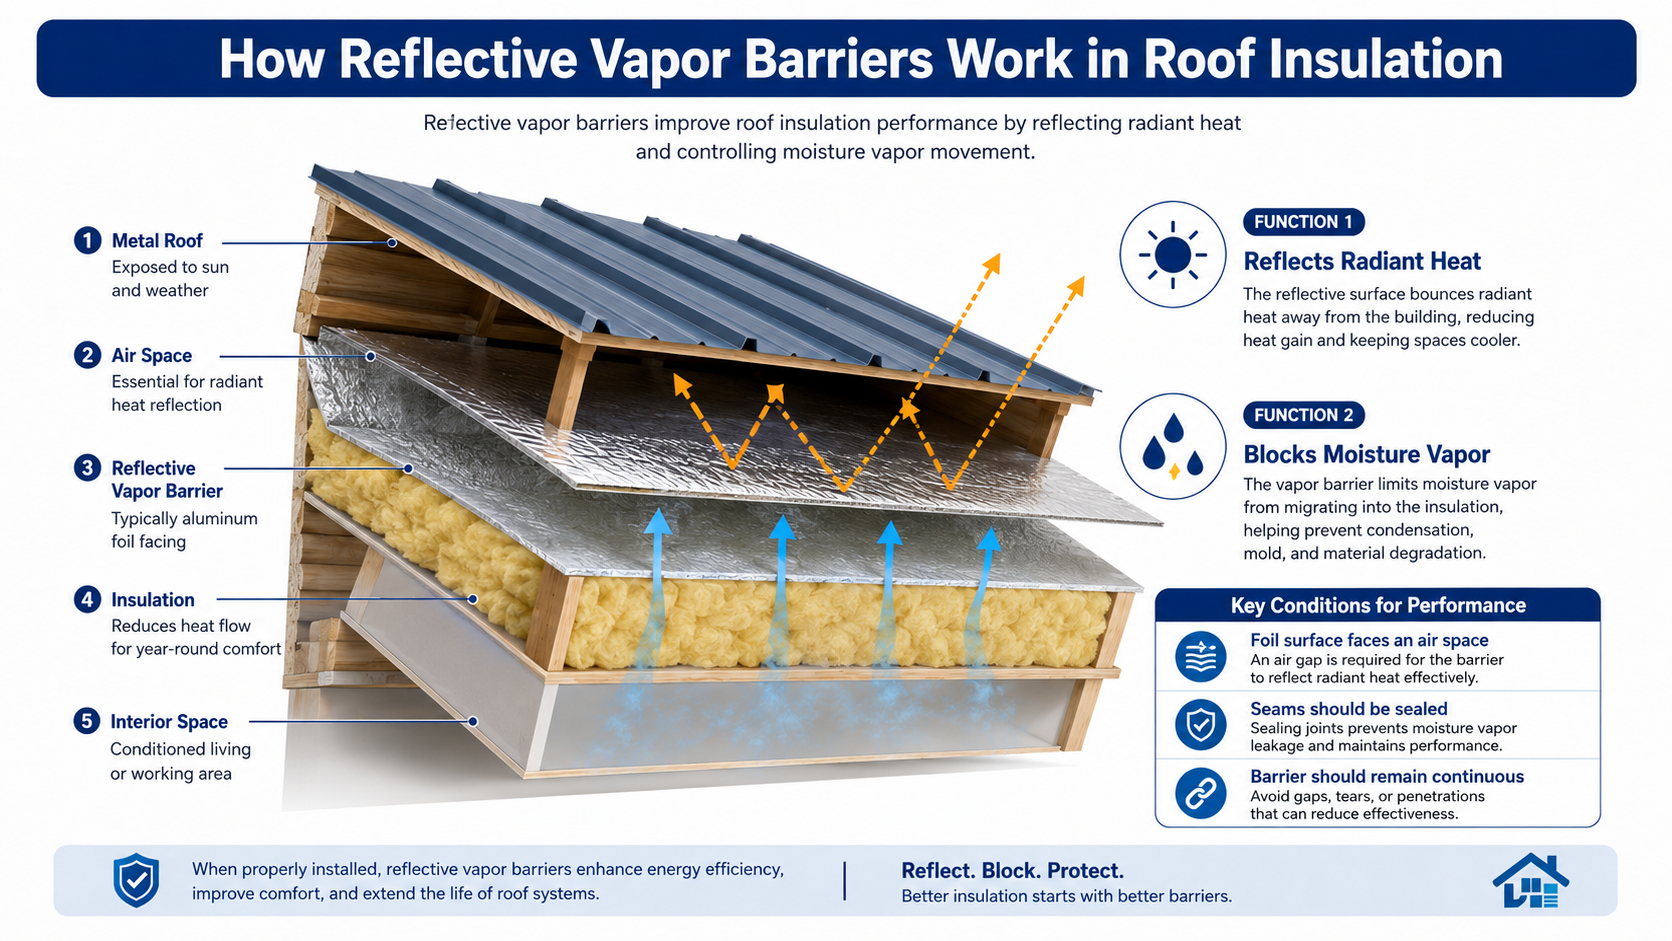
- Reflective Vapor Barrier
Key advantages:
- 9 ft & 10 ft Wide Rolls
- OEM & Private Label Manufacturing
- Factory Direct Supply
- Fast Sample Support
- DDP Door-to-Door Delivery
- Technical Installation Support
Frequently Asked Questions
Should every pipe penetration be flashed?
Yes. Every penetration through the WRB should be sealed and flashed to maintain a continuous weather barrier.
Can I simply apply sealant around a pipe?
Sealant alone is generally not enough. Flexible flashing integrated with the House Wrap provides a more durable water-management detail.
Are preformed pipe boots necessary?
They are often the fastest and most consistent solution for round penetrations, while irregular shapes usually require field-applied flashing details.
What is the biggest installation mistake?
Reverse laps and oversized cuts are among the most common causes of leakage around penetrations.
Why do wider House Wrap rolls help?
Wider 9 ft and 10 ft rolls reduce seams, simplify detailing around penetrations, improve installation efficiency, and lower labor costs.
Related Articles
- How to Install House Wrap Correctly
- How to Flash Windows & Doors with House Wrap
- WRB vs. Vapor Barrier: What’s the Difference?
- Best House Wrap for Wood Frame Construction
- How to Choose the Right House Wrap Manufacturer
Contact OPERFECT
United Perfect Group,To Make Buildings Perfect, together.
Global Business Director: Mr. Du
WhatsApp / WeChat: +86 134 2613 0536
电子邮件: export@unitedperfect.com
Products:House wrap – Manufacturer of foil lamination, Roofing & walling, Insulation & acoustic, Fiberglass .